Make Bacon the Yidhra Way
Curing and smoking your own bacon requires some effort and time, but results in a product far superior to the typical conveniently prepared bacon in most grocery stores.
The procedure for making your own bacon at a high level goes like this:
- Procure a fresh pork belly and remove the skin.
- Order a fresh pork belly from your local butcher or grocery store. It is convenient to have the butcher trim the skin from the pork belly for you. You can do this yourself with a sharp knife cutting as close under the skin as you can, this is a slow and greasy process.
- Skin must be removed before curing.
- An 11 pound pork belly may be expected to yield 7-8 pounds of pork when the skin is removed.
- Skin may be used to make your own pork rind as described here. Pork skin can go bad quickly, so prepare or freeze within 3 days.
- Cut and trim the pork belly into manageable sized pieces.
- Square off the edges of the pork belly, retaining all trimmings.
- Cut belly into rectangular pieces of approximately 2 lbs. each, or to a size which can fit into 1 gallon Ziploc storage bags.
- Place each cut of pork in its own Ziploc bag.
- Place all of the trimmings into a Ziploc bag as well.
-
Cure the pork for 7 days. The pork will be wet cured in the refrigerator using pink salt. The pink salt needed for this process is salt to which 6.25% sodium nitrate has been added and has been dyed, and should not be confused with any Himalayan or other pink salt product. Sodium nitrate is your ward against botulism, and no doubt should exist that you have the proper salt for curing.
The recipe below has the ingredients for curing 1 pound of meat. The recipe must be scaled up or down to match the weight of the meat.
Maple Bacon Cure
Per 1 pound of pork belly:
- 1 1/2 teaspoons Morton’s kosher salt
- 1/2 teaspoon Prague powder #1(pink curing salt #1)
- 1 1/2 teaspoons ground black pepper
- 1 tablespoon dark brown sugar
- 3 tablespoons maple syrup
- 1/2 teaspoon crushed red pepper flakes
- 1/4 cup water
Place the correct quantity of ingredients in each Ziploc bag with pork, removing as much air as possible and sealing.
Place in glass dish or other container to catch any liquid that leaks and store in refrigerator.
Every 24 hours, flip the bags of pork and cure over, allowing the fullest possible exposure of cure to all meat surfaces.
After 7 days the meat will be ready for cooking, and should feel somewhat firmer than at the beginning of the process, much like that of cooked steak.
-
Smoke the pork. Prepare smoker, looking for a low heat 225°.
We most often smoke using oak as we have it in abundance, though hickory works as well.
Smoke for about 2 hours, until the pork registers an internal temperature of 150°, or not much beyond, because we are not looking to melt off much of the fat during the smoking, only add flavor.
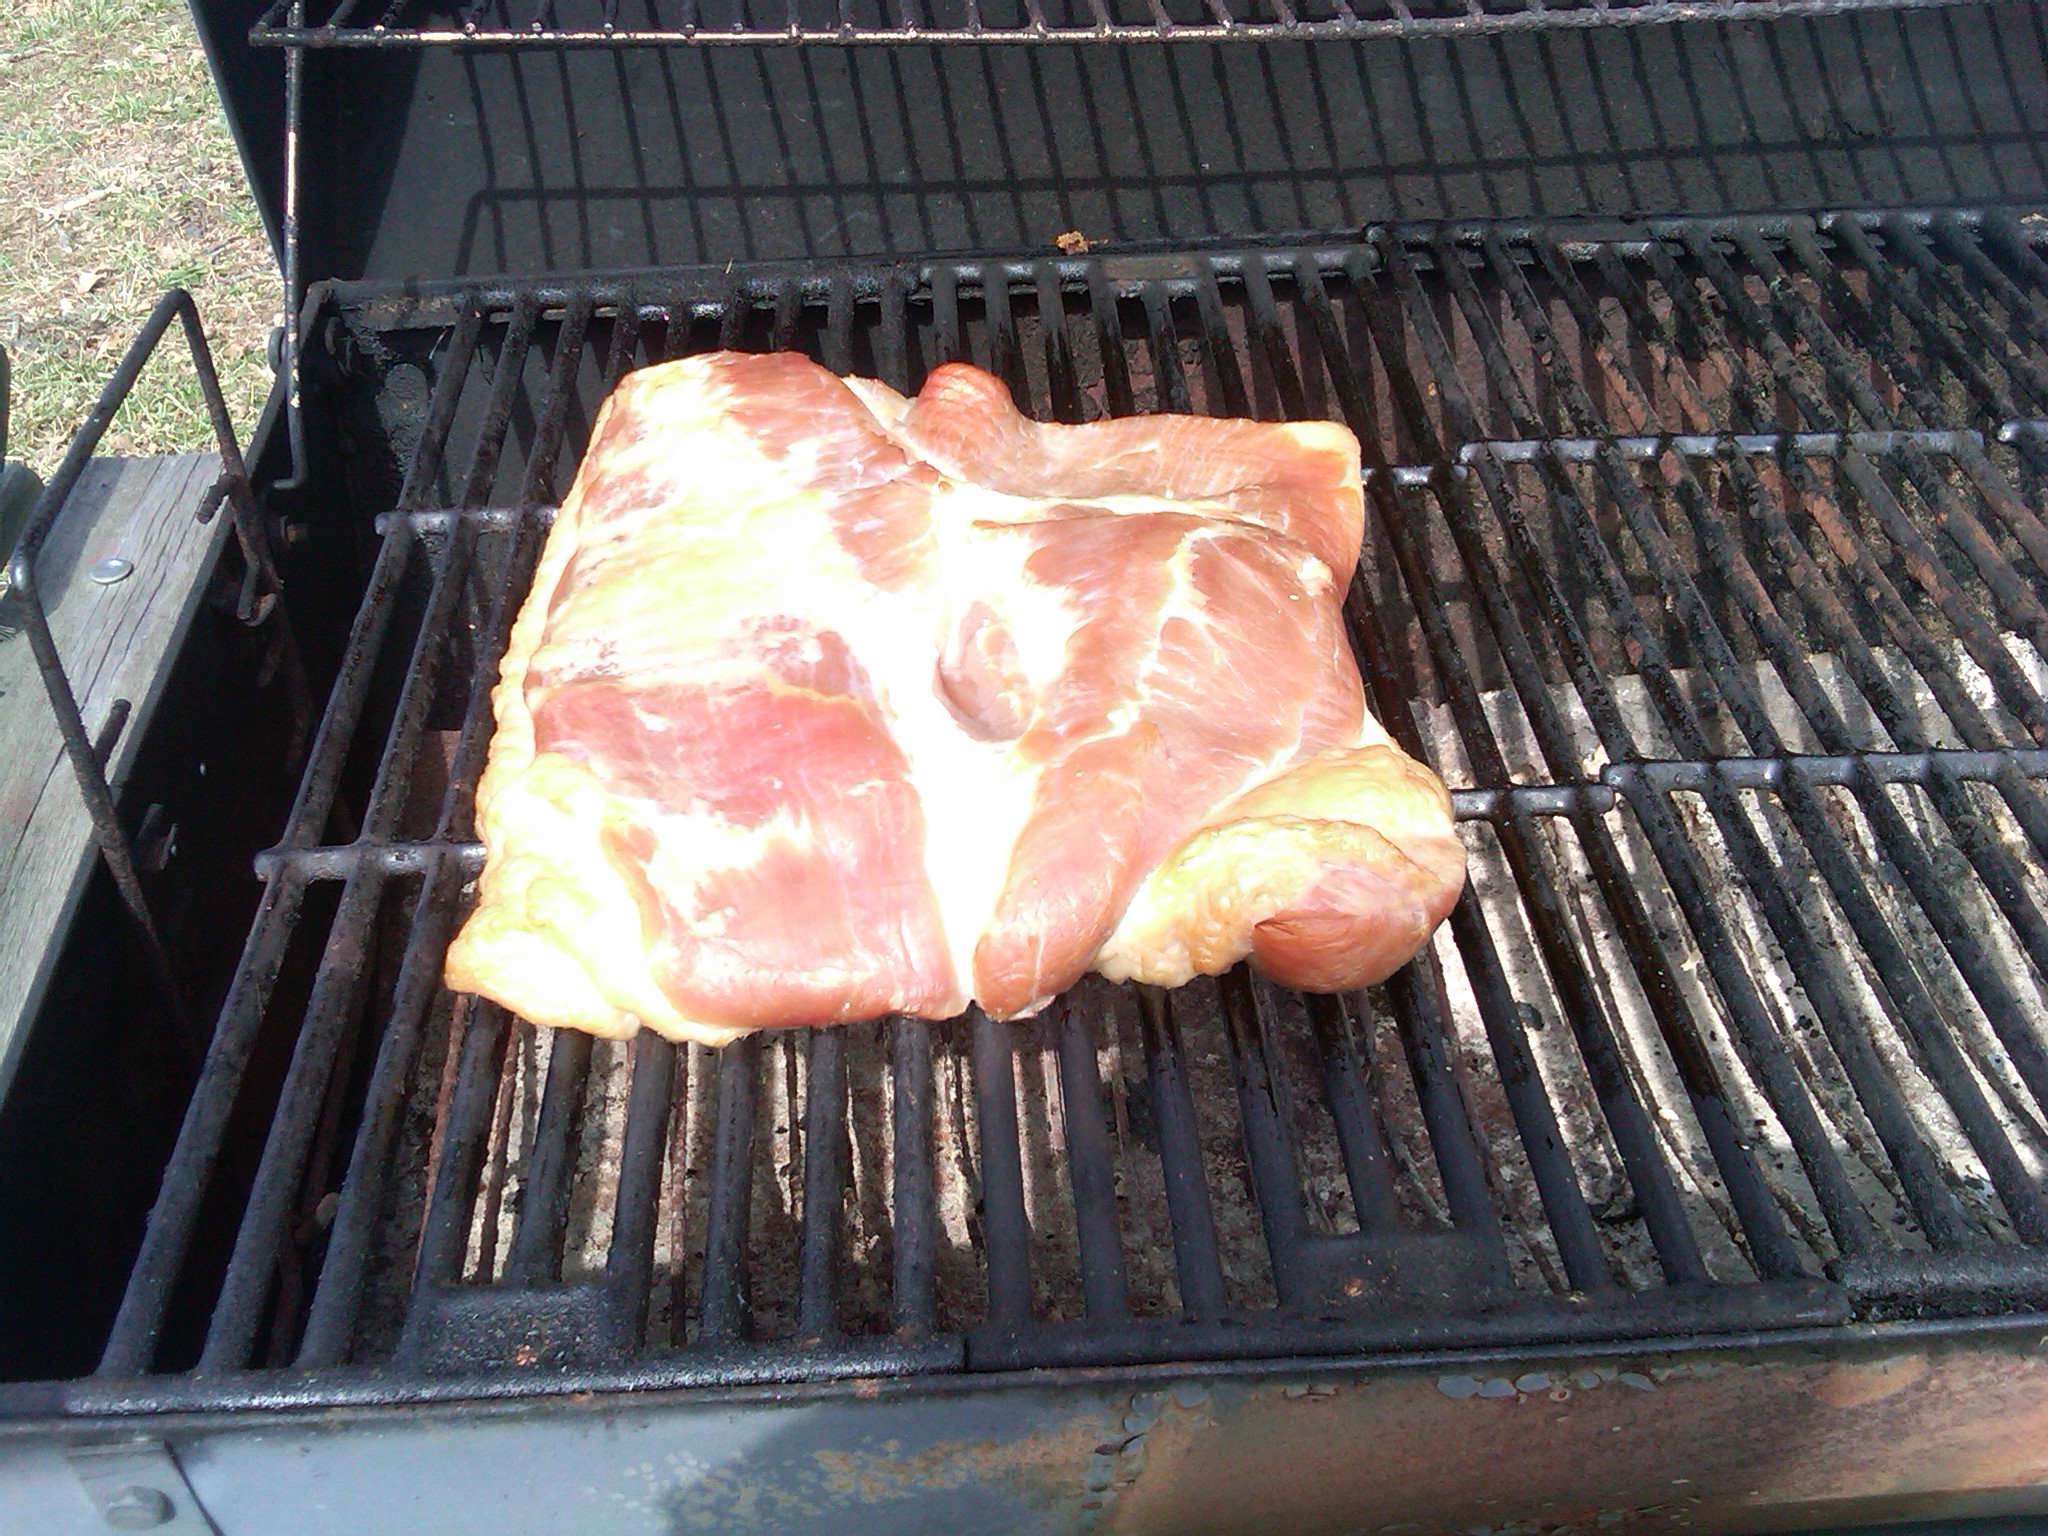 Five pound piece of cured pork belly, fifty minutes into the smoking process.
 - Cool and slice.
- Place smoked meat on plate and place in freezer or refrigerator to cool before slicing. Cold meat is easier to slice than hot, in my opinion.
- Slice bacon as thin or thick as you like.
- Chop trimming and any dried edges into cubes and use for flavoring beans.
- I slice all the bacon and then place in Ziploc storage bags, each containing 1 pound of slices.
- Bacon can be refrigerated for up to two weeks, or frozen up to three months.
Cook and enjoy your bacon in any manner you prefer. I like baking slices in 400° oven on a rack in a roasting pan for ~15 minutes, turning bacon over once during cooking. Home made bacon does not get as hard or crisp as store bought cold cured bacon.
Important tools
- An accurate meat thermometer
- Pink Curing salt
- Kitchen scale
- 1 Gallon Ziploc storage bags
- Sharp knives

Chrls is currently a technology transformation leader at one of the oldest American investment banking services holding companies, headquartered in New York City. Previous roles at current employer include project manager, front office support, retail and enterprise global Windows server support. Currently residing in Tennessee on the Cumberland Plateau and enjoying life, family and open source.
Mastodon Funkwhale